Hotel page / Home page
Edit a page
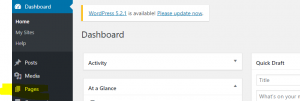
- On the left panel menu, click on “Pages”
- Select the Homepage page “Front page”
- Make the modification you need (you can edit the title, the text and the slideshow)
- When you have finished your modifications, click on the “Update” button to save your changes
Manage slideshow by adding image or video
IMAGES
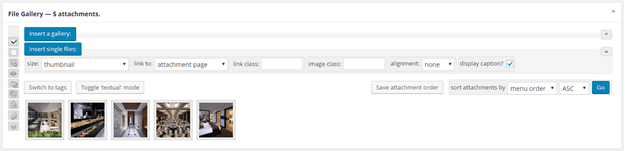
To modify the images in the slideshow, edit the main page in the CMS and go to the “File Gallery” section:

You can delete an image by clicking on the
 when your mouse hovers the thumbnail.
To add a new image, just drag & drop the image in the section.VIDEO
To Add a video to the slideshow:
- Add a youtube or vimeo link into the custom slideshow
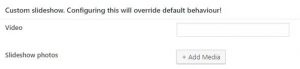
- The link should include the watch part ttps://www.youtube.com/watch?v=e-UoNXd_fcM
- When you have finished your modifications, click on the “Update” button to save your changes
- Add a youtube or vimeo link into the custom slideshow
Rooms & Suites
Hub page
Edit page
- On the left panel menu, click on “Pages”
- Select the Room & Suites Hub page
- Make the modification you need (you can edit the title, the text and the image/illustration)
- When you have finished your modifications, click on the “Update” button to save your changes
Detail room type page
Edit page
- On the left panel menu, click on “Pages”
- Select the Detail room page that you want to edit
- Make the modification you need , you can edit:
– The title
– The presentation text
– The room features and image/illustration
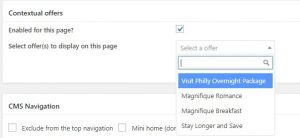
– You can also add an offer section “Contextual Offer” and highlight a specific offer already created on the CMS
- When you have finished your modifications, click on the “Update” button to save your changes
To modify the featured image of the page
- Edit the image/illustration
- Scroll down to the “Featured Image” section
- Click on the image
- Drag and drop the picture you want to add
NB : You won’t need to click on the “Update” button to save the modification when you add pictures in the “Featured Image” section
Create a new room/suite page
- Click on the “Add new” button (a pop-in will open)
- Type the page title
- Select the “Room single page” template
- Select the parent page (rooms hub)
- Click on the “Create new page” button
- Type your presentation text in the main part
- Optional : Add your rooms features in the “Rooms features” section
- Add your image/illustration in the “Featured Images” section
- Click on the “ Publish” button
Restaurants & Bars
Hub page
Edit page
- On the left panel menu, click on “Pages”
- Select the “Restaurants & Bars” hub page
- Make the modification you need, you can edit :
– The title
– The text
– The image/illustration
– Add additional images - When you have finished your modifications, click on the “Update” button to save
Detail of restaurant page
Edit page
- On the left panel menu, click on “Pages”
- Select the dedicated restaurant page that you want to edit
- Make the modification you need (you can edit the title, the presentation text, the catch phrase, the additional images, the chef section, the press section, the booking form and the image/illustration)
- When you have finished your modifications, click on the “Update” button to save
Create a restaurant/bar page
- Click on the “Add new” button (a pop-in will open)
- Type the page title
- Select the “Restaurant single page” template
- Select the parent page (restaurants hub)
- Click on the “Create new page” button
- Type your presentation text in the main part
- Add the catch phrase in the “Catch phrase” section
- Add the pictures in the “Illustration” section
- Add the chef presentation in the “The Chef” section
- Add a menu
- Add an offer section “Contextual Offer” and highlight a specific offer already created on the CMS
- Add the press review in the “Press” section
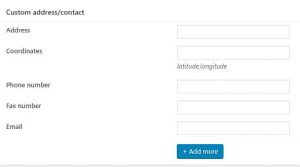
- Add “custom address/contact” – NEW: Each restaurant can now have its own contact details
- Enable the booking form (select the form type and enter the restaurant id) in the “Restaurant“
- Add your image/illustration in the “Featured Images” section
- Select the type in the “Type of restaurant or bar” section
- Click on the “Publish” button
MICE
Hub page
Edit page
- On the left panel menu, click on “Pages”
- Search the MICE hub page
- Make the modification you need, you can edit:
– The title
– The text
– The featured image/illustration - When you have finished your modifications, click on the “Update” button to save
Detail of MICE page
Edit page
- On the left panel menu, click on “Pages”
- Search the MICE detail page that you want to edit
- Make the modification you need, you can edit:
– The title
– The presentation text
– The catch phrase
– The additional images
– The meeting room capacities table
– The attachment file
– The featured image/illustration
– Add a specific offer already available in CMS
- When you have finished your modifications, click on the “Update” button to save
Create a MICE page
- Click on the “Add new” button (a pop-in will open)
- Type the page title
- Select the “Meetings single page” template
- Select the parent page (MICE hub)
- Click on the “Create new page” button
- Type your presentation text in the main part
- Add the catch phrase in the “Catch phrase” section
- Add the pictures in the “Illustration” section
- Add each rooms and their capacity in the “Meeting Rooms Capacity” section
- Add the attachment files in the “Attachments” section
- Add a specific offer already available in CMS
- Add your image/illustration in the “Featured Images” section
- Click on the “ Publish” button
Spa & Fitness
Edit page
- On the left panel menu, click on “Pages”
- Select the Spa/Fitness page that you want to edit
- Make the modification you need (you can edit the title, the spa information, the attachment file, and the image/illustration)
- Add a specific offer already available in CMS
- When you have finished your modifications, click on the “Publish” button to save
Create a Spa page (if the page does not exist)
- Click on the “Add new” button (a pop-in will open)
- Type the page title
- Select the “Spa/thalasso main page” template
- Click on the “Create new page” button
- Type your presentation text in the main part
- Add the catch phrase in the “Catch phrase” section
- Add the pictures in the “Illustration” section
- Add the chef presentation in the “The Chef” section
- Add the press review in the “Press” section
- Add your image/illustration in the “Featured Images” section
- Add the attachment files in the “Attachments” section
- Select the type in the “Type of restaurant or bar” section
- Add a specific offer already available in CMS
- Click on the “ Publish” button
Offers
Edit an offer
- On the left panel menu, click on “Offers”
- Select the offer that you want to edit
- Make the modification you need (you can edit the title and the image/illustration)
- When you have finished your modifications, click on the “Update” button to save
Add an offer
- In the left panel, click on “Offers”
- Click on the “Add new” button (a pop-in will open)
- Type the offer title
- Select the offer category (Nights, Restaurant, Spa)
- Click on the “Create new offer” button
- Enter your offer presentation in the main part
- Enter the TK Code (TARS Key) in the “TK Code” section (NB: The TK Code is mandatory for the “Nights” type offers)
- Enter the catch phrase in the “Catch phrase” section
- Add the features in the “Features of the offer” section
- Enter the terms and conditions in the “Offer terms & conditions” section
- Select the category in the “Category” section
- Add the availability dates in the “Dates of the offer” section
- Add your image/illustration in the “Featured Images” section
- Click on the “Publish” button
NB : Depending of the category selected, your offer will appear in the offers page, the restaurant page or the spa page. If your offer is a Restaurant type, you can select and link the offer to a specific restaurant.
Gallery
Add pictures
- On the left panel menu, click on “Pages”
- Select the Gallery page
- Click on the “Add Media” button
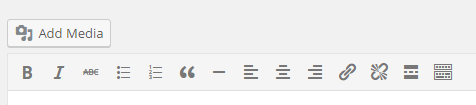
- A pop-in will open and you will have two options to add new pictures to the Gallery page
Option 1: Insert pictures from your computer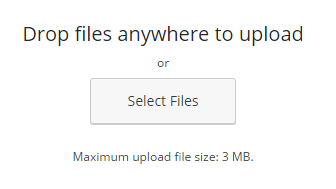
Option 2: Select pictures imported from IcePortal system
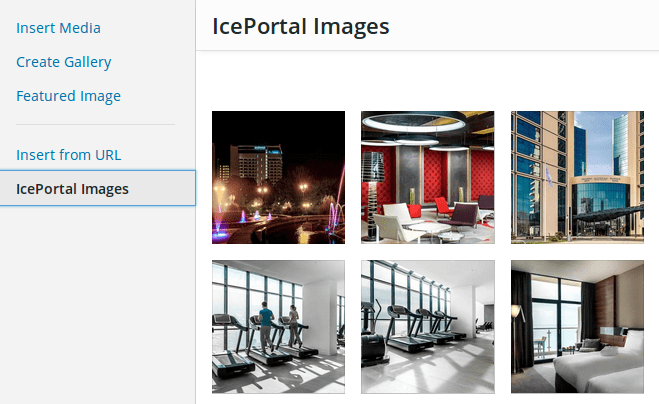
NB: You can select multiple pictures by holding CTRL key and select as many pictures you want
- When you have selected your pictures – click on the “Download & Attach” button
You can see more details and screen captures on our visual guide in PDF format.
Add a video
- In the “YouTube Videos” section, click on the “Add more” button
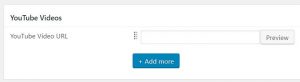
- In the new field, paste the YouTube video URL and click on the “Preview” button
- Click on the “Update” button
- In the “YouTube Videos” section, click on the “Add more” button
Edit images captions and/or categories
- On the left panel menu, click on “Library” in the “Media” option
- You will see a grid with all the pictures used on the site
- Switch to “list view” mode if not already set.

- Sort the list by “Uploaded to”
- Find pictures which are uploaded to the “Gallery” page
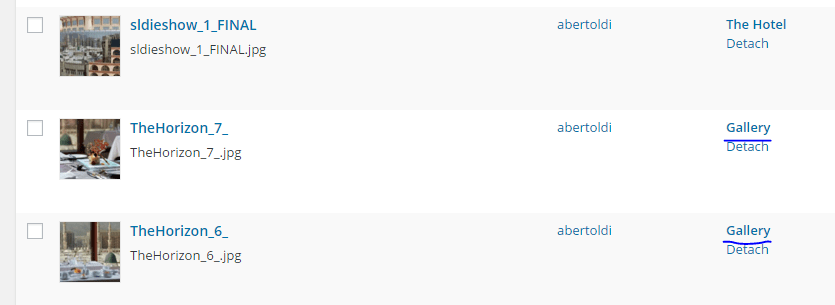
- On each picture, click on “Edit” (you can open it in a new tab if needed)
- Scrolling down, you will see dedicated fields to use for editing the category and the caption for each picture, in every language
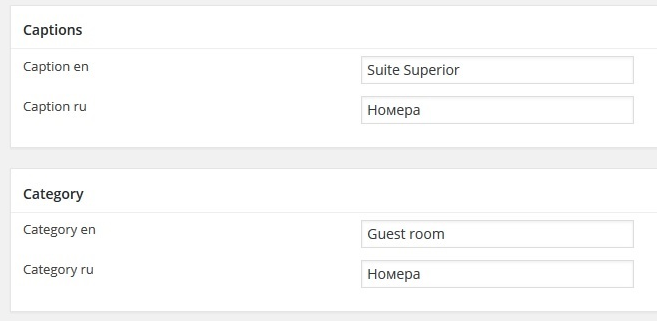
- Category is free text, so use exactly the same text for each picture with the same category
- Click on “Update” to save your modifications
You can see more details and screen captures on our visual guide in PDF format.
Order of the pictures in the Gallery
You can personalize the order of the pictures in the Gallery.
- Drag and drop images to change the order
- Click on the button “Save attachment order” to save your changes
Remove pictures from the photo Gallery
You can remove pictures from the photo Gallery.
- On the left panel menu, select “Library” in the Media submenu
- When you move your mouse over a picture, click on “Delete Permanently”

NB: You have to select pictures attached to the Gallery only
News
Hub page
Edit page
- On the left menu panel, click on “Pages”
- Select the News hub page
- Make the modification you need (you can edit the title and the image/illustration)
- When you have finished your modifications, click on the “Update” button to save
Detail of the news
Edit a news
- On the left panel menu, click on “Pages”
- Select the news that you want to edit
- Make the modification you need (you can edit the title and the image/illustration)
- When you have finished your modifications, click on the “Update” button to save
Add a news
- Click on the “Add new” button
- Type the title of the news
- Select the “News Single Page” template
- Select the “News” page parent
- Click on “Create new page”
- Type the text of the news
- Type the date in the “Date for the news” section
- Type the label in the “Date for the news” section
- Add the additional images in the “Illustration(s) which will…” section
- Add the links in the “Links” section
- Add the attachment files in the “Attachments” section
- Add the YouTube video url in the “Videos” section
- Add the contacts in the “Press Contacts” section
- Add your image/illustration in the “Featured Images” section
- Click on the “Publish” button
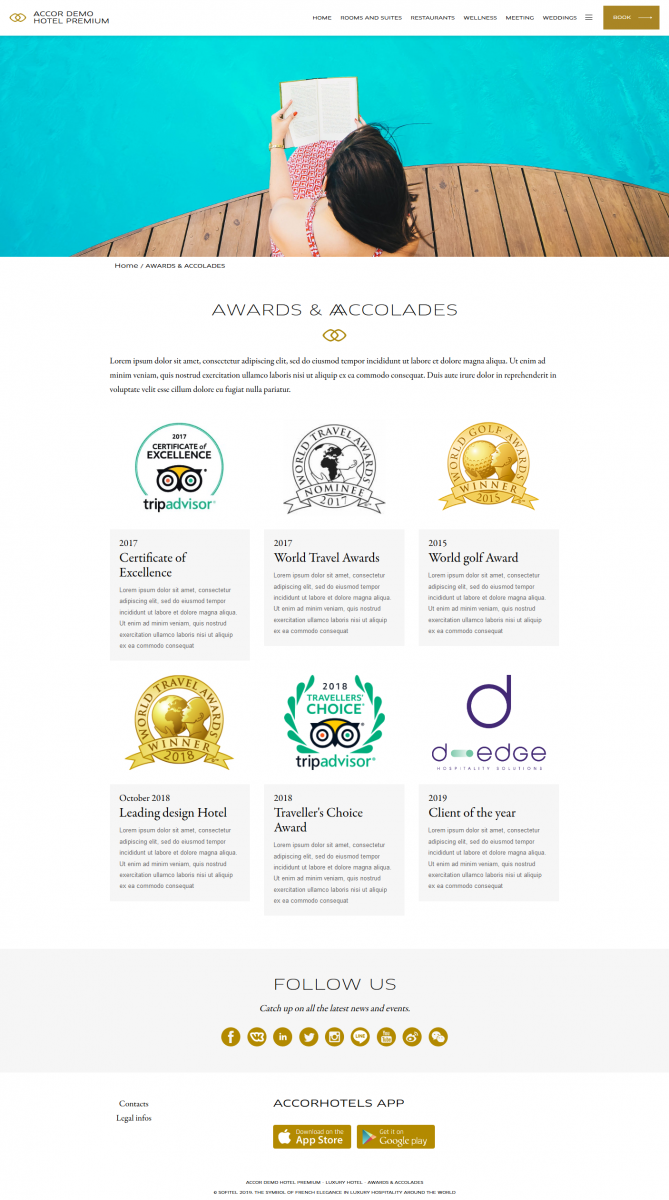
Award
To create an award page on your website:
- From the web back office menu, select Page and click Add New
- Enter the Page Title, choose the Page Template Awards, and select the Page Parent to which you want to add the awards page.

- Add descriptive content in the Description field, if needed
- Click Create new page.
- To add the desired award :
- Upload a Logo
- Enter the Date and year
- Enter the Title of your award
- Include a short Description
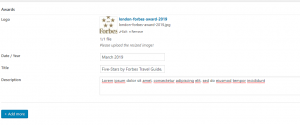
- Click Add more to add another award.
- When you have added all your awards, click Update.
Look at some examples from the MGallery and Grand Mercure templates.


- From the web back office menu, select Page and click Add New
Newsletter
Edit page
- On the left panel menu, click on “Pages”
- Select the newsletter page
- Make the modification you need (you can edit the title, the main text and the legal notice)
- When you have finished your modifications, click on the “Update” button to save
Create a Newsletter page (if the page does not exist)
- Type the title of the page
- Type the text in the main part
- Type the legal notice in the “Legal Notice” section
- Select the “Newsletter “ template
- Click on the “ Publish” button
Legal information
Edit page
- On the left panel menu, click on “Pages”
- Select the Legal information page
- Make the modification you need (you can edit the title and the main text)
- When you have finished your modifications, click on the “Update” button to save
Sitemap
No specific recommendation for this page